Sunday, August 2, 2015

Google Auto Is the Official Name of Google's Secretive Car Division


The internet might be all aflame with talk of an Apple Car, but according to documents obtained by the Guardian, Google Auto is really where it’s at.

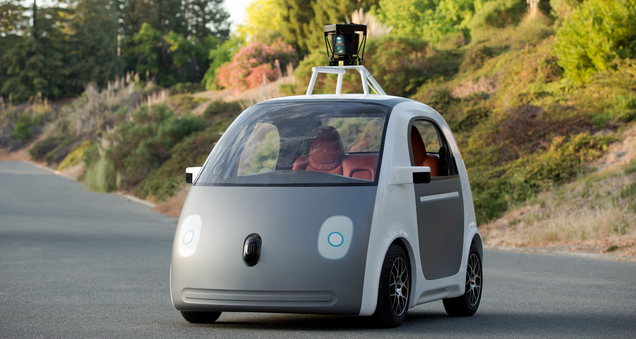
Set up as a distinct company back in 2011, Google Auto has been officially responsible for all of Google’s self-driving car experiments to date. That includes the self-driving Lexus SUVs that have become a staple of California’s highways, as well as the smaller, cuter pods that have recently entered testing.

Google has long claimed that it wants to partner with existing car manufacturers to make self-driving cars a reality. But the existence of Google Auto means that legally, at least, there’s no need for a manufacturing partner. No other experimental Google products have warranted their own company thus far.

Google Auto might just be a legal convenience — as the Guardian points out, it shifts risk away from the main body of the company, and probably also makes filling out paperwork with the NHSTA easier. But it could also very well be the beginnings of the company that will manufacture our future self-driving overlords.

Thursday, July 9, 2015

How To detect virtualized OS from an application

Have you heard about blue pill, red pill?. It's a technique used to see if you are running inside a virtual machine or not. The origin of the term stems from the matrix movie where Neo is offered a blue or a red pill (to stay inside the matrix = blue, or to enter the 'real' world = red).

The following is some code that will detect wheter you are running inside 'the matrix' or not:
(code borrowed from this site which also contains some nice information about the topic at hand):

int swallow_redpill () {
   unsigned char m[2+4], rpill[] = "\x0f\x01\x0d\x00\x00\x00\x00\xc3";
   *((unsigned*)&rpill[3]) = (unsigned)m;
   ((void(*)())&rpill)();
   return (m[5]>0xd0) ? 1 : 0;
 } 

Monday, July 6, 2015

How To Install Ubuntu 14.04.2 LTS


1. Using a USB drive:


Most newer computers can boot from USB. You should see a welcome screen prompting you to choose your language and giving you the option to install Ubuntu or try it from the USB.
If your computer doesn’t automatically do so, you might need to press the F12 key to bring up the boot menu, but be careful not to hold it down - that can cause an error message.


2. Prepare to install Ubuntu


  • We recommend you plug your computer into a power source
  • You should also make sure you have enough space on your computer to install Ubuntu
  • We advise you to select Download updates while installing and Install this third-party software now
  • You should also stay connected to the internet so you can get the latest updates while you install Ubuntu
  • If you’re not connected to the internet, we’ll help you set up wireless at the next step


3. Set up wireless


If you are not connected to the internet, you will be asked to select a wireless network, if available. We advise you to connect during the installation so we can ensure your machine is up to date. So, if you set up your wireless network at this point, it’s worth then clicking the Back button to go back to the last screen (Preparing to install Ubuntu) and ticking the box marked ’Download updates while installing’.

4. Allocate drive space


Use the checkboxes to choose whether you’d like to Install Ubuntu alongside another operating system, delete your existing operating system and replace it with Ubuntu, or — if you’re an advanced user — choose the ’Something else’ option

5. Begin the installation


Depending on your previous selections, you can now verify that you have chosen the way in which you would like to install Ubuntu. The installation process will begin when you click the Install Now button.

Ubuntu needs about 4.5 GB to install, so add a few extra GB to allow for your files.

6. Select your location


If you are connected to the internet, this should be done automatically. Check your location is correct and click ’Forward’ to proceed. If you’re unsure of your time zone, type the name of the town you’re in or click on the map and we’ll help you find it.

7. Select your preferred keyboard layout


Click on the language option you need. If you’re not sure, click the ’Detect Keyboard Layout’ button for help.

8. Enter your login and password details


9. Learn more about Ubuntu while the system installs…

…or make a cup of tea!

10. That’s it.


All that’s left is to restart your computer and start enjoying Ubuntu!